1
/
of
5
Basic DIY Henna Kit-Starter Kit-Makes up to 5 Cones
Basic DIY Henna Kit-Starter Kit-Makes up to 5 Cones
Regular price
$22.00 USD
Regular price
Sale price
$22.00 USD
Unit price
/
per
Shipping calculated at checkout.
No reviews
Couldn't load pickup availability
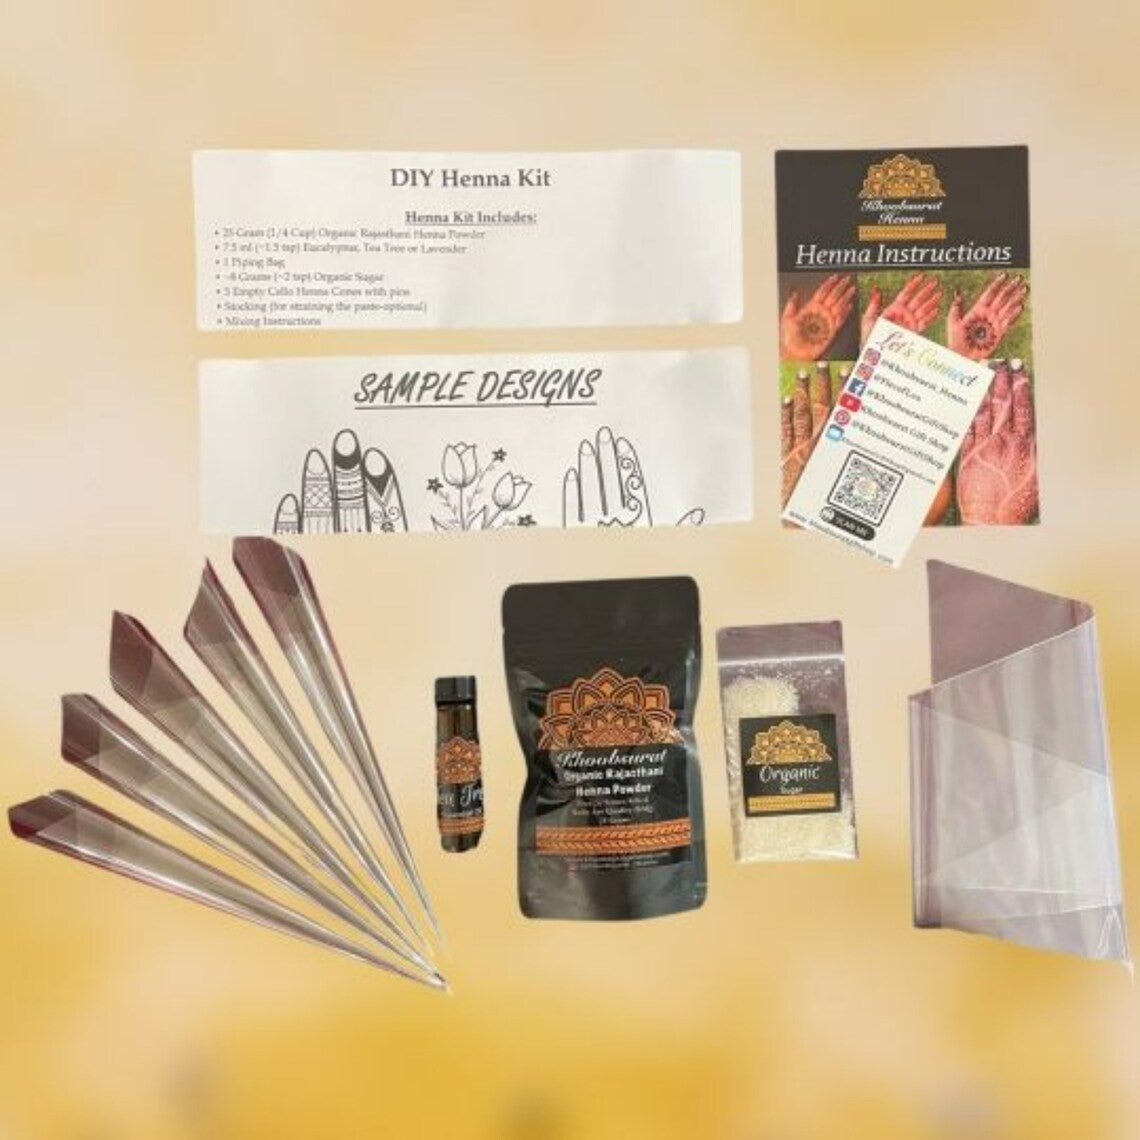
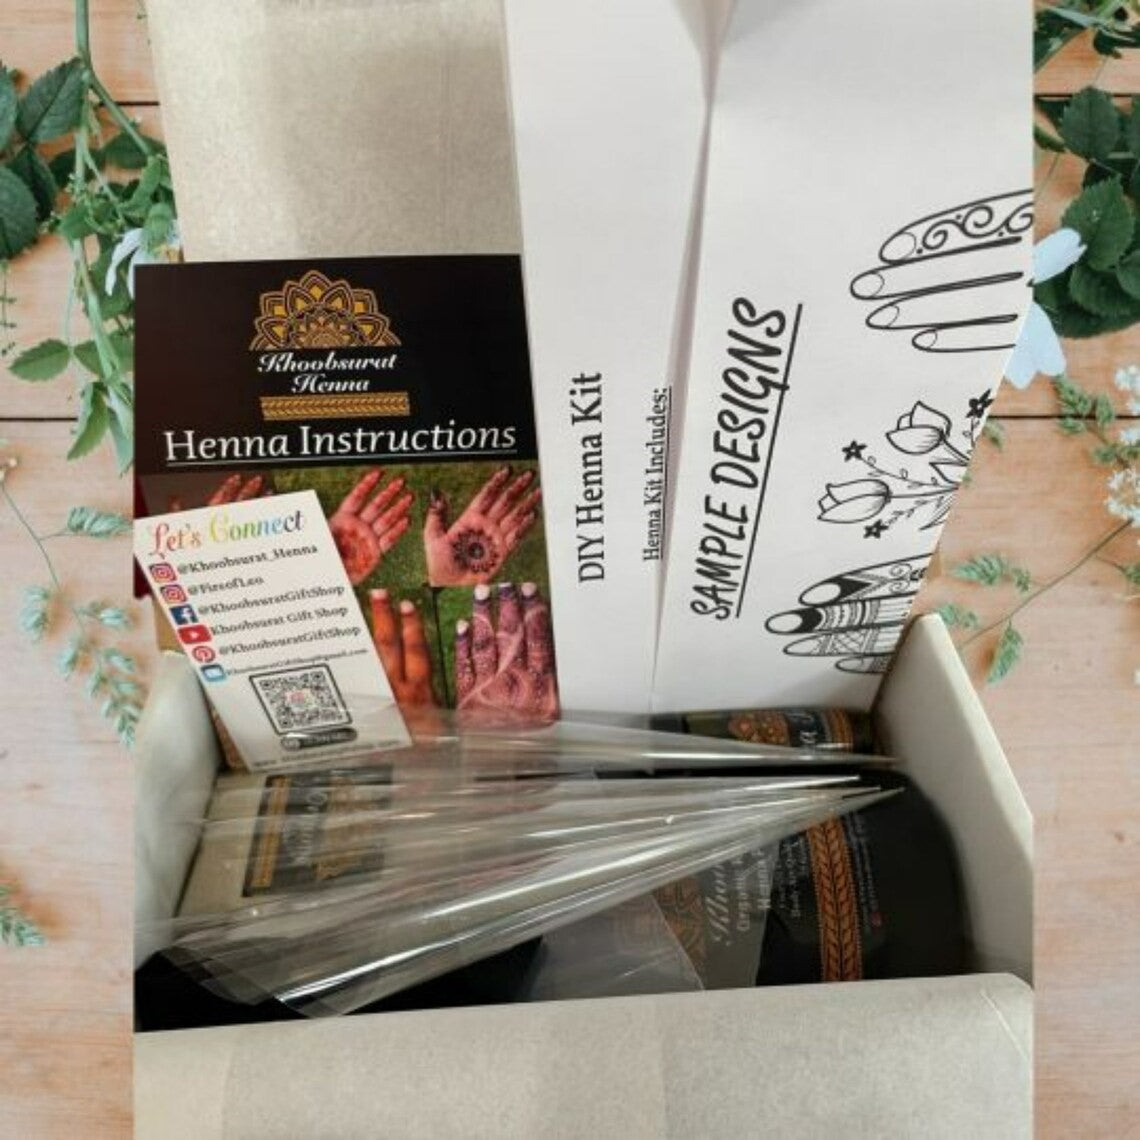
Henna Kit Includes:
• 25 Gram Organic Rajasthani Henna Powder (3.35% Lawsone Dye Content!)
• 7.5 ml Lavender, Tea Tree, Eucalyptus or Khoobsurat Blend (Eucalyptus and Tea Tree) Essential Oil
• 1 Piping Bag
• ~8 Grams Organic Sugar
• 5 Empty Cello Henna Cones with pins
• Mixing Instructions
• Sample Designs for great ideas
• After Care Instructions
(Most henna kits you get from Joanns, Michaels, Walmart, or any other craft store only have around 4-10 grams of henna powder, only sifted 1-2 times with a Lawson dye content of ~1-2 percent!
The price of this kit reflects the quality and quantity of the product)
I recommend for Pregnancy Henna, Henna Crowns, Henna for small children and those with sensitivities to order the Lavender Essential oil as it is the least likely to cause sensitivities.
These are the same ingredients I use in my Henna Body Art Business.
**Makes approximately 75 Grams of SMOOTH STRINGY Henna Paste of ~4-5 Cones depending on the size of the cones and each cone can create dozens of small/medium size designs
What you'll need:
• Approximately 50-60ml of Lemon Juice and Water Mixture (equal parts lemon juice and water)
• Glass bowl to mix
• Spatula
• Spoon
• Glass
• Saran wrap
Directions:
Step 1: Mix henna powder and sugar together
Step 2: Stir in approximately 10-15 ml of lemon/water mix
Step 3: Stir in 7.5 ml of Essential oil (mix well)
Step 4: Stir and add lemon/water mix until you reach a toothpaste consistency (I like my paste a little thinner)
Step 5: Cover with saran wrap and let it sit overnight (6-8 hours) in dark warm place (I set it on the kitchen counter)
Step 6: Uncover and mix well, you will notice it is now silky and smooth, add lemon/water mix if necessary until you reach your desired consistency (be careful not to add too much liquid as it will cause the paste to become runny)
Step 7: Place the piping bag in the glass and fill all the henna paste and tape the bag shut
Step 8: Cut the tip of the piping bag and fill your henna cones (do not fill all the way to the top as it will make it difficult to seal shut)
Step 9: Seal your henna cones- remove the pin, push down the henna paste to the tip, replace the pin, then tape the top of the henna cone shut
Step 10: Enjoy and Create Art!
I would love to see your creations! Tag me on Instagram @Khoobsurat_Henna #Khoobsurat_Henna
*IMPORTANT*
It is best to place an order on Friday-Monday to avoid having your order sit at the post office over the weekend.
It is also recommended to choose a shipping option that is within 1-3 days, due to henna being a perishable item and the oils will start to separate if it is kept out of the freezer for too long when not in use.
Please See FAQ's to learn more about What is Henna, Hengua and the dangers of Henna with PPD.
Share


